Needle felting is an art form that allows individuals to express their creativity via wool fibers. The satisfaction derived from starting with loose, fluffy wool and gradually shaping it into a detailed sculpture is immensely rewarding. It is a hands-on experience that allows the creator to come in contact with their creation.
In short, it allows you to create cute sculptures with wool. Let’s have a look at what it actually is!
Table of Contents
What is Needle Felting?
Needle felting is a crafting technique that has gained immense popularity for sculpting and creating with wool fibers. This art form involves using specialized barbed needles to interlock and compact wool fibers, transforming them into a desired shape or design. The repetitive action of poking and shaping the wool with these needles allows crafters to craft 3-D objects.
The roots of needle felting can be traced back thousands of years, originating from the concept of matting and compacting wool by using thorns or similar sharp tools. However, In recent years, needle felting has experienced a surge in popularity due to several factors as Social media platforms, a rise in interest in sustainable and eco-friendly craft, and therapeutic and meditative aspects.
Needle felting is a favored craft among both seasoned artists and beginners seeking a fulfilling creative outlet. As we delve further into this guide, we’ll explore the materials, techniques, and projects that enable you to embark on your own needle felting journey.
What are the Materials and Tools used in Needle Felting?
In needle felting, if you have the right materials and tools then the work is half done. Let’s explore the essentials that are a must
Types of Wool and Fibers Suitable for Needle Felting
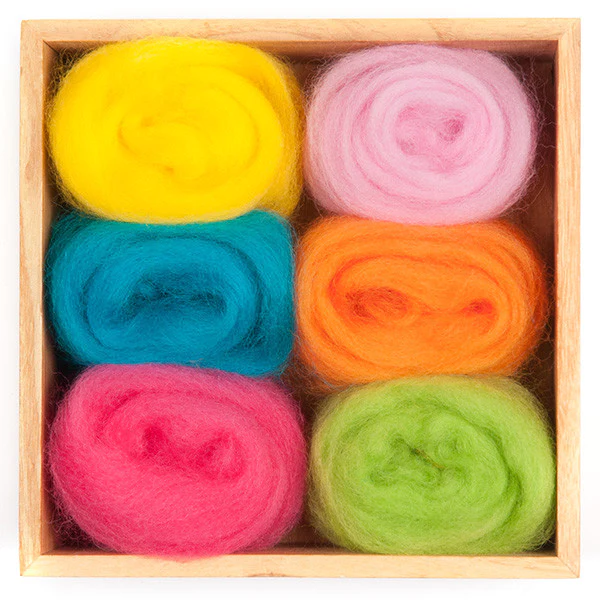
- Wool Roving
Wool roving, typically made from sheep’s fleece, is the most common and versatile fiber for needle felting. It comes in various colors and is easy to work with, making it ideal for both beginners and experienced felters.
- Merino Wool
Merino wool is a popular choice known for its softness and fine fibers. It felts smoothly and is excellent for detailed work and blending colors.
- Alpaca and Mohair
These fibers add a different texture to your creations. Alpaca is soft and silky, while Mohair has a distinctive sheen.
- Silk
Silk fibers or hankies can be used to add a shimmering effect to your projects. They’re often used for embellishments.
- Specialty Wools
There are various specialty wools like Corriedale, Romney, and Shetland, each offering unique qualities in terms of texture and color.
- Plant-based Fibers:
Fibers like bamboo, hemp, and soy silk can also be incorporated into your felting projects for a different aesthetic.
Different Types of Felting Needles and Their Uses
Felting needles come in different gauges (thickness) and types, each serving specific purposes during the felting process:
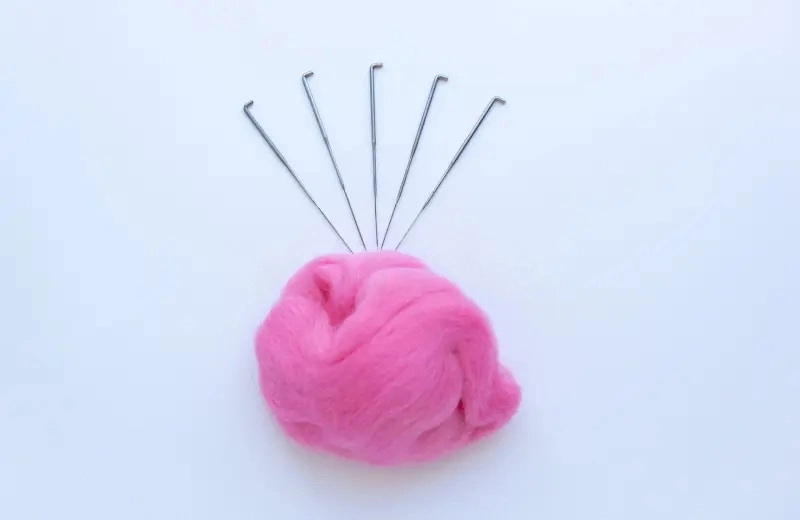
- Single-Needle (Standard)
Ideal for shaping, detailing, and joining pieces. They come in various gauges, with finer gauges for delicate work and thicker gauges for faster felting.
- Multi-Needle Tools:
These hold multiple needles and are great for felting large areas quickly and blending colors seamlessly.
- Reverse (Barbless) Needles:
Designed to pull fibers out, useful for delicate work or fine details.
- Spiral Needles
These have a twisted blade, making them efficient for deep penetration and shaping.
Essential Tools and Safety Precautions
Foam Pads: Used as a work surface to protect both your needles and your working area. The foam allows the needles to easily penetrate the fibers.
Wire Cutters: Useful for cutting and shaping wire armatures for creating stable structures within your felted projects.
Having a good understanding of these materials and tools is the first step toward successful needle felting. Experimenting with various fibers and needles will help you find what works best for your style and projects. Stay tuned for more insights into needle felting techniques and projects as we proceed in this guide.
👉Learn Needle Felting For Beginners
How To Start Needle Felting?
Embarking on a needle felting journey is an exciting adventure that begins with setting up a conducive workspace and understanding the basic techniques involved.
Setting Up a Workspace Conducive to Needle Felting
- Work Surface: Start with a sturdy, flat work surface. A table or desk covered with a foam pad works well, providing a resilient base for your needle felting projects.
- Lighting: Ensure good lighting to work comfortably. Natural light or a well-positioned desk lamp can prevent eye strain and help you see the details clearly.
- Ventilation: Needle felting can produce wool fibers in the air, so it’s beneficial to work in a well-ventilated area to avoid inhaling fibers.
- Organizing Materials: Keep your wool, needles, and other tools neatly organized and within reach to maintain a smooth workflow.
Basic Felting Techniques For Beginners
Poking: Poking the felting needle into the wool repeatedly allows the barbs on the needle to tangle and mat the fibers, creating a firm structure.
Shaping: By poking the needle in specific areas and directions, you can shape the wool into various forms, such as spheres, cylinders, or flat surfaces.
Joining Fibers: To join different pieces of wool together, simply poke the needle through both pieces. The barbs on the needle entangle the fibers, securely connecting them.
Felting for Beginners: Practice Simple Techniques With A Project
For beginners, creating a small felted ball is an excellent starting point. This project allows you to practice basic poking and shaping techniques while familiarizing yourself with the feel and handling of the wool and needle.
Step-by-Step Beginner Project: Felted Ball
If you don’t like to read, have a look at this video to make a Felt Ball Yourself! 👇
And if you are from the reading club, follow along!
Gather Your Materials:
- Wool roving in your preferred colors
- Felting needle
- Foam pad
- Scissors
Prepare the Wool:
- Choose the colors you want for your ball and pull a small amount of each color from the roving.
Create a Core:
- Roll one color of wool tightly into a small ball to form the core of your felted ball.
Layer and Shape:
- Layer another color of wool over the core and start poking with the felting needle to shape the ball.
Add Layers and Details:
- Continue adding layers of wool and poking until you achieve the desired size and shape. Experiment with different colors and patterns.
Refine and Finish:
- Poke the entire surface of the ball to ensure a consistent and smooth finish.
Tadaa! You have your first project ready.
Starting with this simple project will build your confidence and familiarity with needle felting techniques. Stay tuned as we progress to advanced techniques and inspiring projects to elevate your needle felting skills!
Basic Needle Felting Techniques
Needle felting is an art form that allows you to transform wool into a variety of shapes and designs. Here, we’ll delve into the foundational techniques that set the stage for more intricate creations.
Creating Basic Shapes
Balls:
- Select the wool color for your ball and pull a small amount of wool roving.
- Roll the wool tightly between your palms to form a rough ball shape.
- Place the ball on the foam pad and gently poke it with the felting needle, turning and rotating to maintain an even shape.
- Continue poking until the ball is firm and holds its shape.
Flat Surfaces:
- Lay out a thin layer of wool on your foam pad and shape it into the desired flat shape.
- Begin poking gently with the felting needle, ensuring an even distribution of pokes to create a smooth, flat surface.
Adding Finer Details
Facial Features:
- Start by forming the basic shape for the face using the appropriate basic shape technique.
- Use small amounts of contrasting-colored wool to shape the eyes, nose, and mouth.
- Carefully attach and sculpt these features onto the main shape using precise poking and shaping.
Texture:
- Achieving texture involves pulling apart small tufts of wool and applying them strategically to create the desired effect (fur, scales, etc.).
- Secure the fibers using the felting needle, adjusting the amount of poking to control the texture intensity.
Blending Colors and Achieving Gradient Effects
Blending Colors:
- Select the colors you wish to blend and pull small sections of each color.
- Layer the colors on top of each other and gently poke them together with the felting needle to gradually combine the colors for a smooth blend.
Gradient Effects:
- Arrange the colors in the order of the gradient you want to achieve.
- Blend the colors by overlapping them slightly and gently poking to fuse them together, creating a seamless transition from one color to another.
- These basic techniques are the foundation of your needle felting journey. Experiment with different fibers, colors, and techniques to master the art and create stunning felted pieces.
Stay tuned for more advanced needle felting techniques and exciting projects that will help you expand your skills and create beautiful, intricate designs!
👉Learn Needle Felting Essentials Now and Start Felting!
Needle Felting Projects and Ideas
Whether you’re a beginner, intermediate, or advanced needle felter, there’s always something delightful to create. Let’s explore project ideas to fuel your creativity.
Simple Beginner Projects
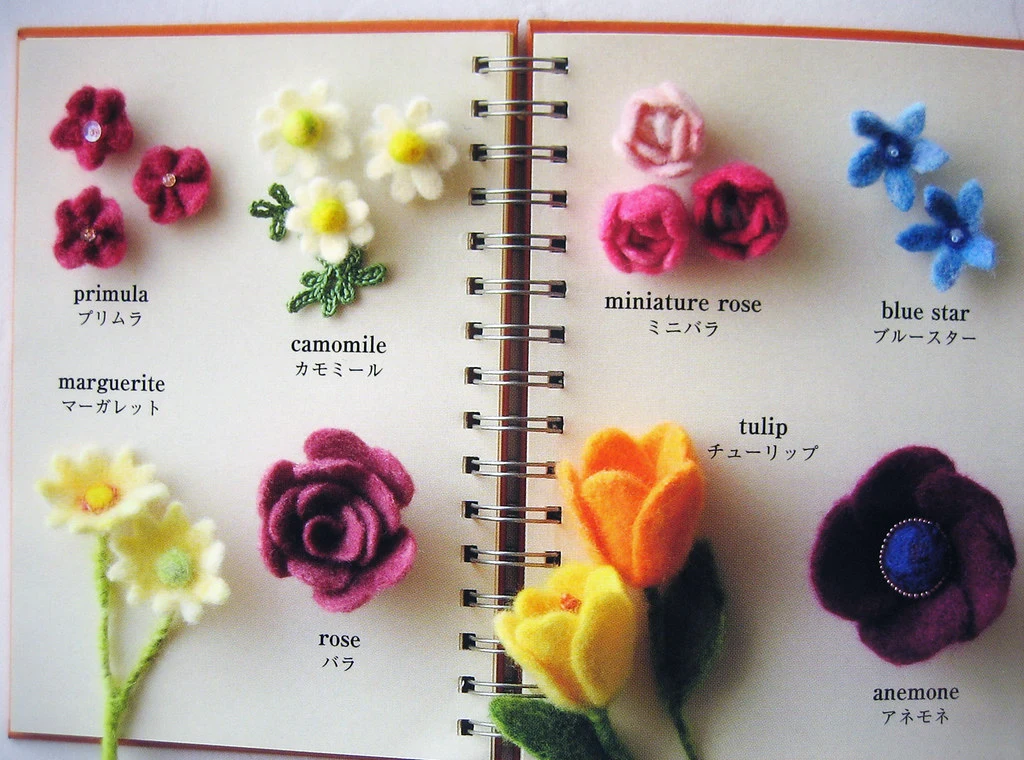
Felted Flower:
- Choose vibrant colors for the petals and a contrasting color for the center.
- Roll the petals and shape them using basic felting techniques. Attach to create a beautiful flower.
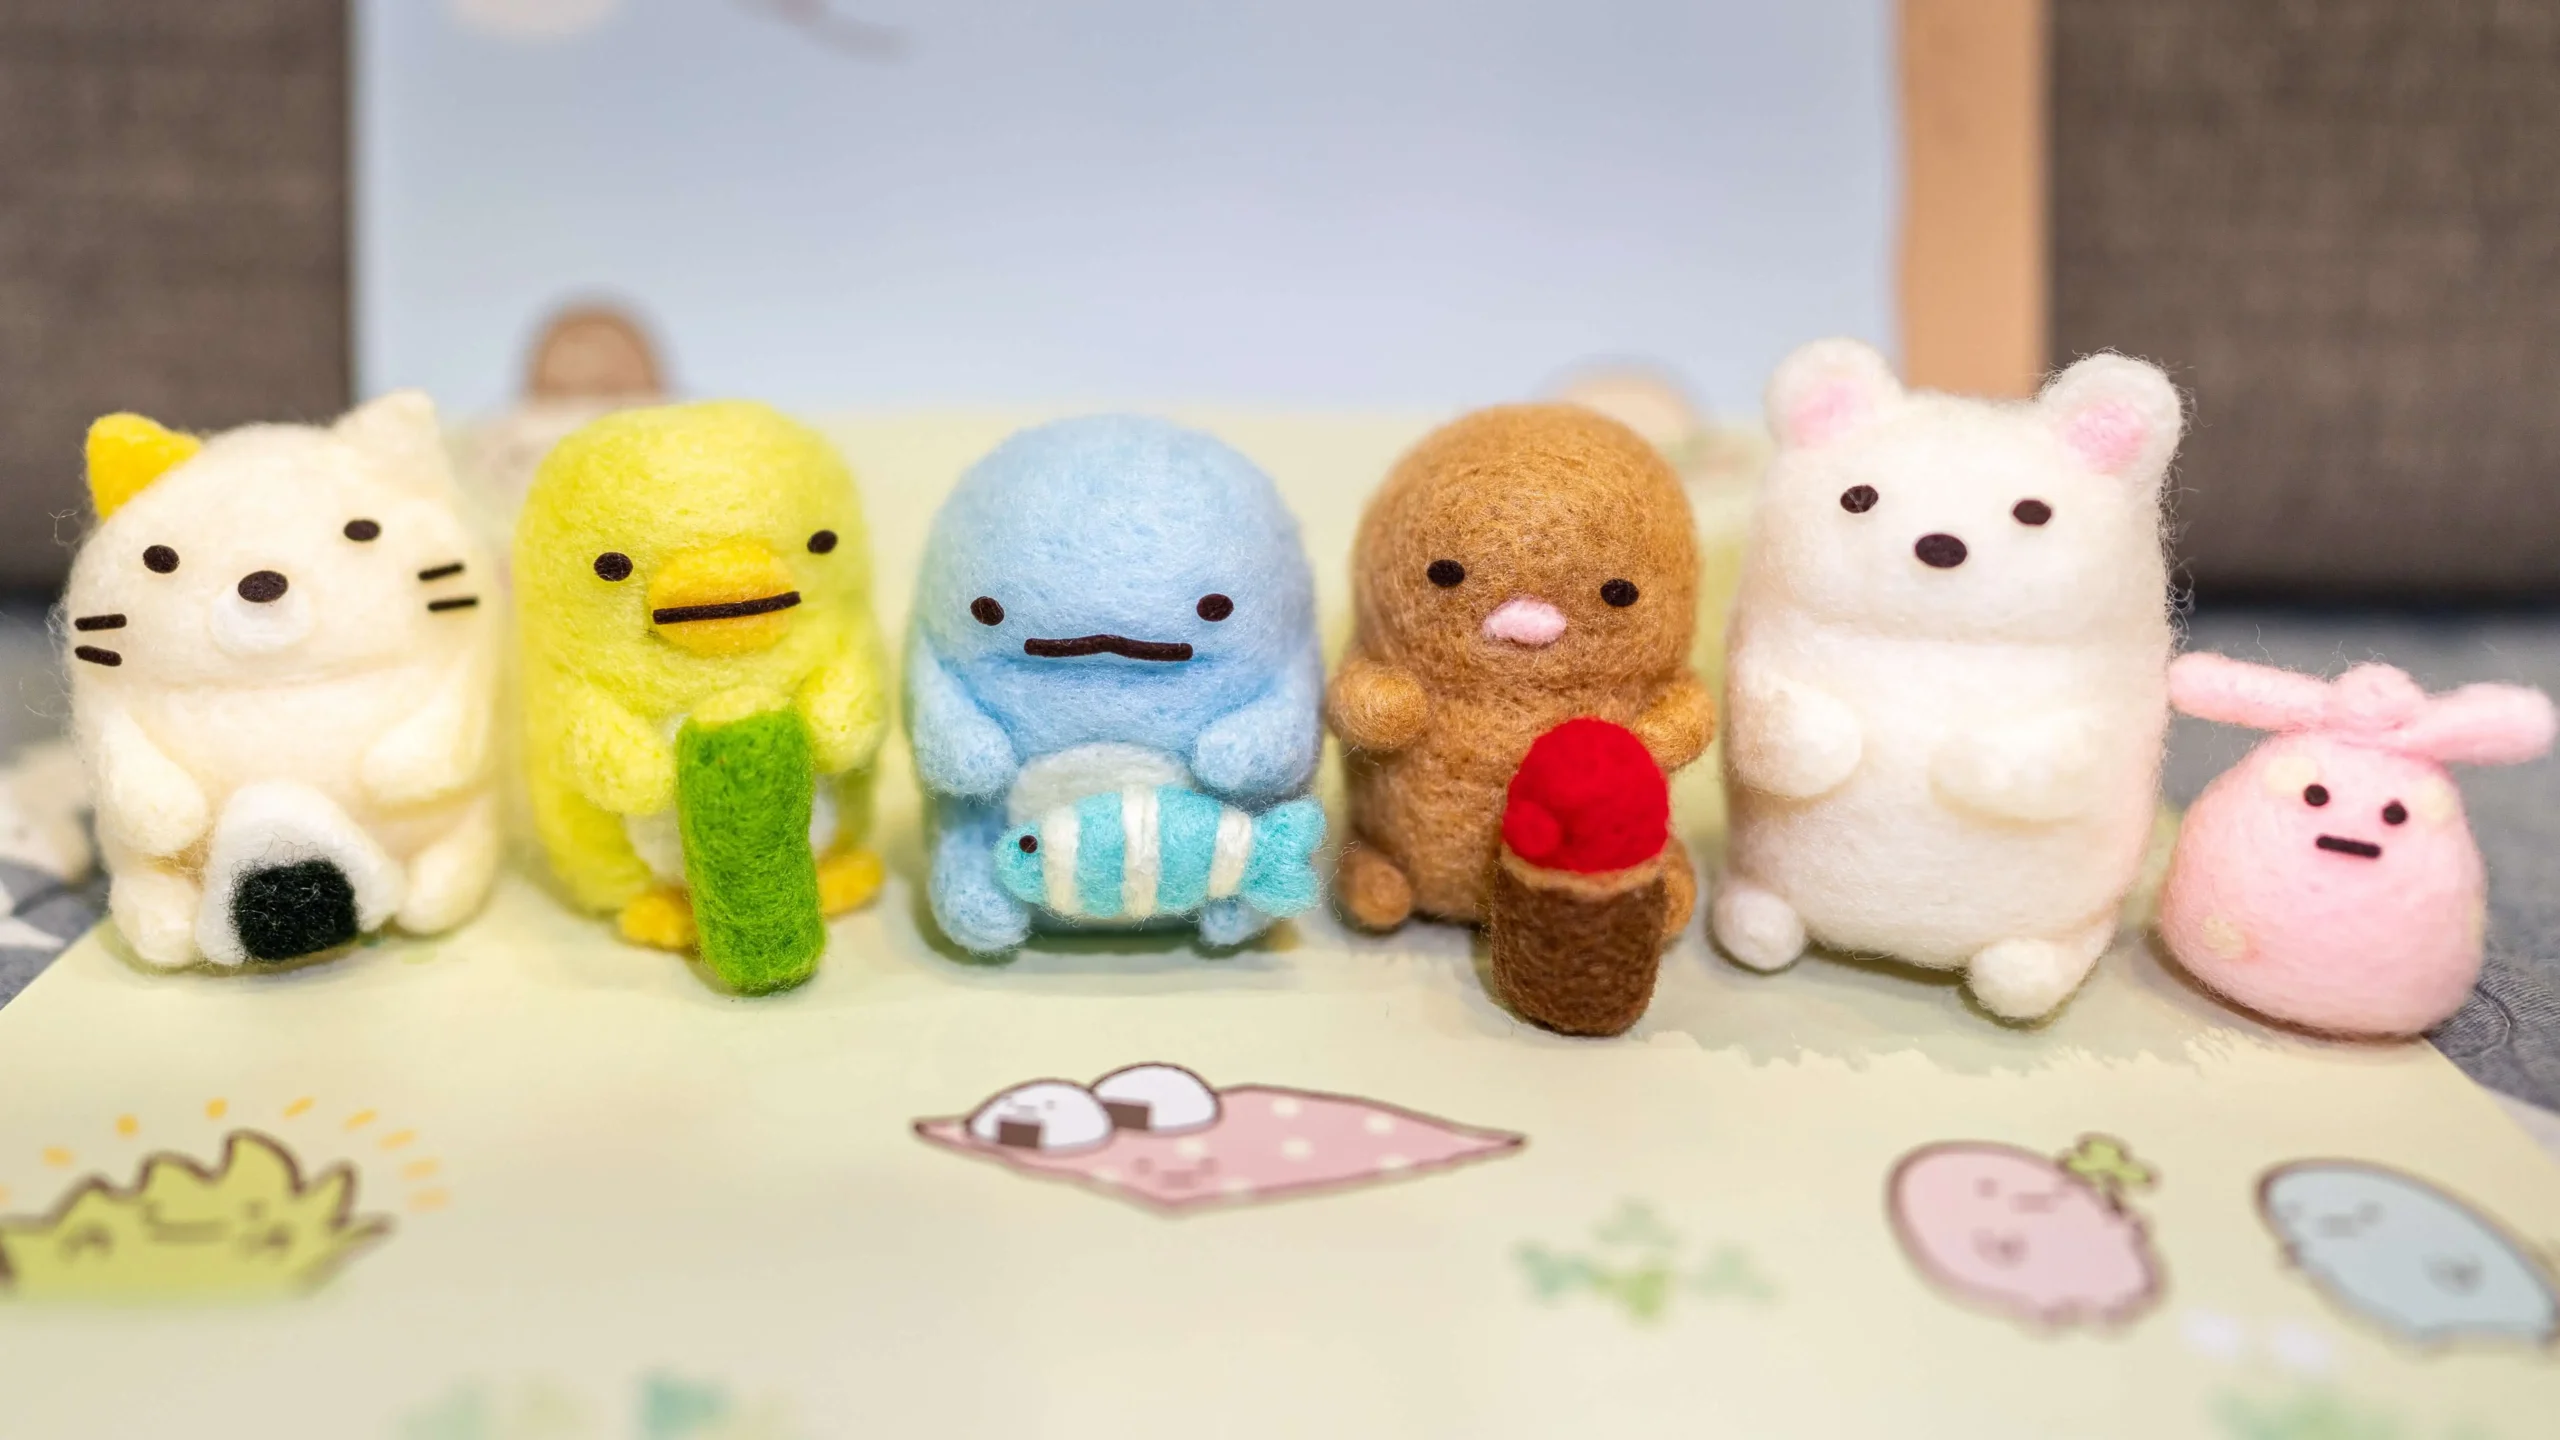
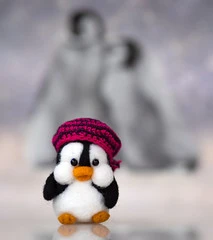
Miniature Animals:
- Start with a simple animal like a bunny or a kitten. Shape the body, add facial features, and finish with details.
Intermediate and Advanced Projects
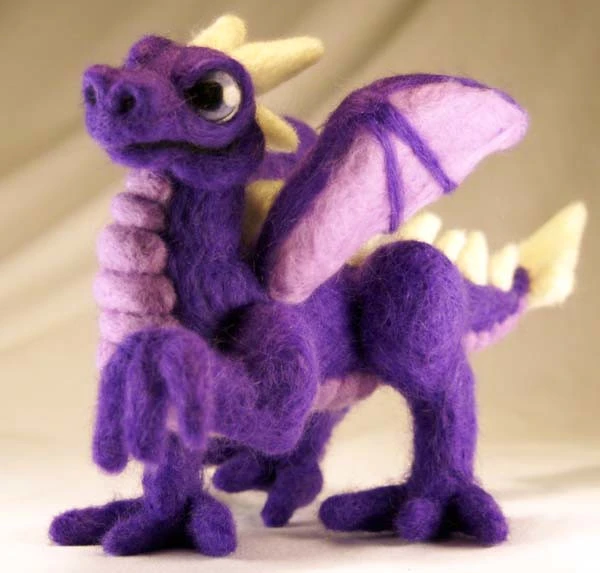
Poseable Felted Dragon:
- Create a wire armature for the dragon’s body and limbs.
- Layer different shades of wool to achieve a realistic scale texture and intricate details.
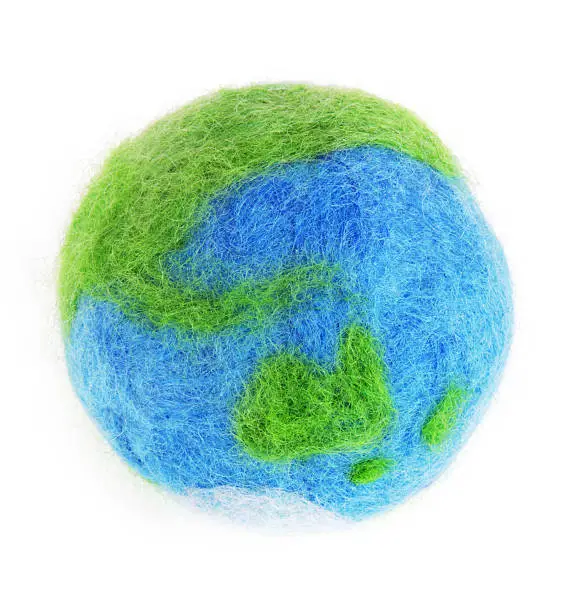
Needle-Felted Landscape:
- Craft a three-dimensional landscape with hills, trees, and sun using a mix of needle felting and other crafting techniques.
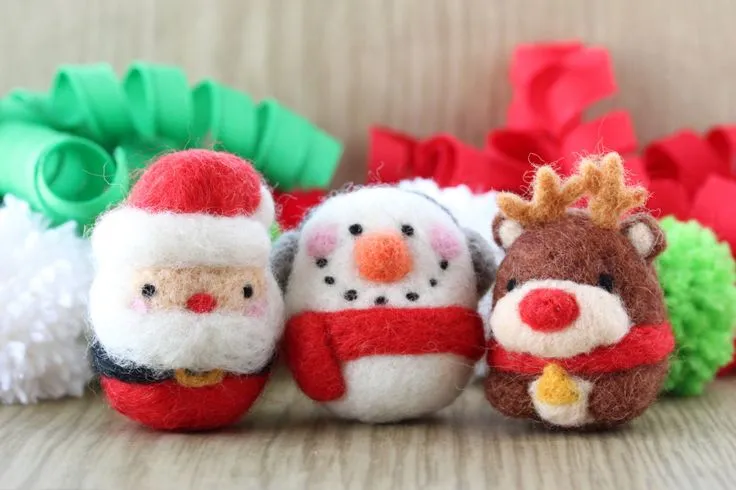
Seasonal or Themed Projects
Holiday Ornaments:
- Craft festive ornaments like snowflakes, stars, or Santa Claus to adorn your tree during the holiday season.
Springtime Meadow Scene:
Create a scene featuring flowers, bees, and butterflies, capturing the essence of a springtime meadow.
Troubleshooting and Common Mistakes In Needle Felting
Common Needle Felting Issues:
- Over-Felting: If your creation becomes too firm or compact, use a finer gauge needle and gently poke the area to soften and reshape.
- Under-Felting: Insufficient felting can result in a fragile structure. Continue felting and compacting the wool until it holds its shape.
- Pilling: Pilling occurs due to excess friction. Use smoother, high-quality wool and work gently to minimize pilling.
Troubleshooting Solutions
Uneven Surface: Rotate and flip your project regularly while felting to ensure an even surface.
Wool Not Sticking: Use more wool, or slightly wet the area with warm, soapy water to improve adhesion.
Needle Felting: A Wonderful Wool Sculpting Art
In the world of needle felting, the potential for creativity is boundless. From crafting simple shapes to intricate, lifelike sculptures, your imagination is the only limit. The joy of bringing fluffy fibers to life and creating unique pieces is a reward in itself.
Now, it’s your turn! Gather your materials, follow the techniques outlined, and start your needle felting journey. Let your creativity soar, and let the wool guide your hands in crafting masterful creations.
Happy Felting!